 |
 |
 |
ArtExtraction | ||||||||||||||||||||||||
| Ian Whiffin Posted: 24th November 2021 Tweet #share |
|||||||||||||||||||||||||
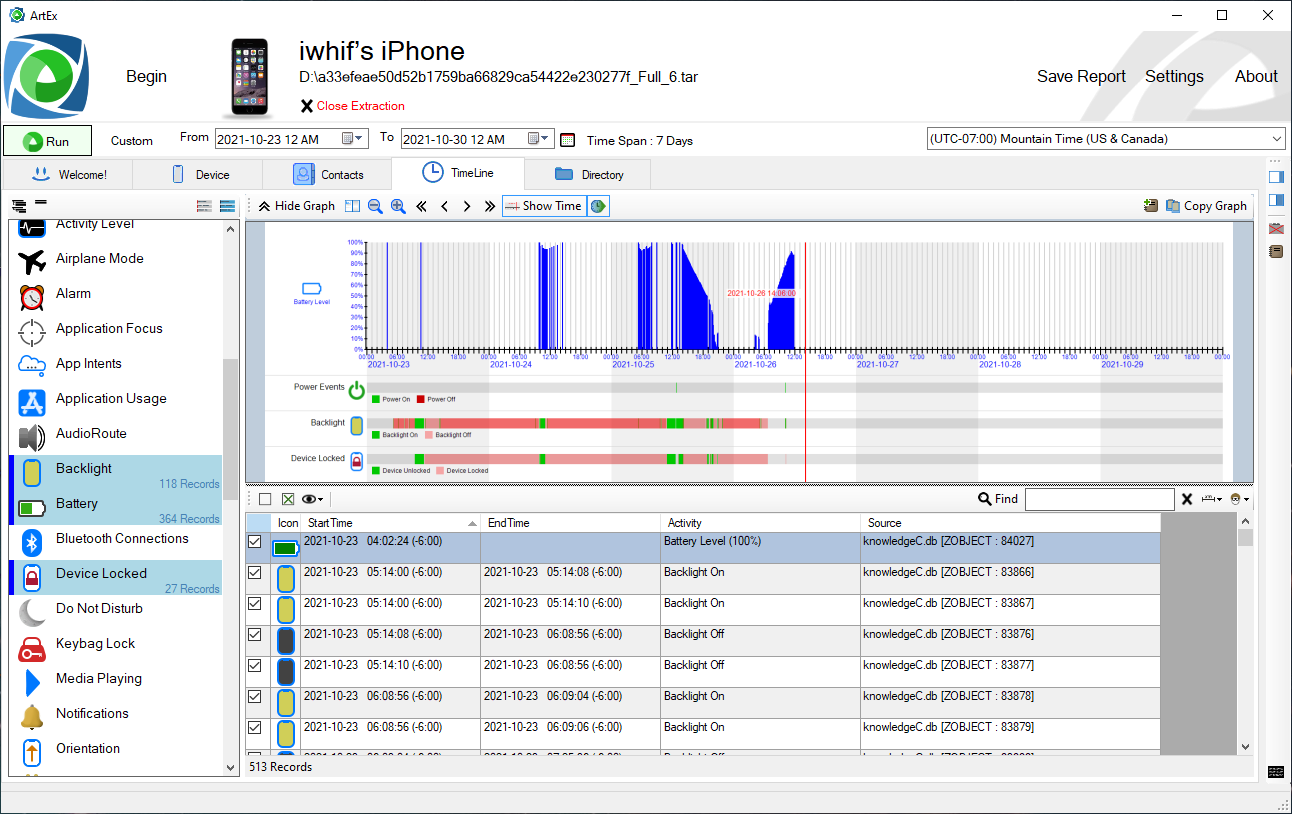
This is a post I started writing a long time ago, when ArtEx was still in version 1. But at the same time as I was preparing to post it, I decided to do a full rewrite of ArtEx and thus, this post was delayed. Some of you may have seen me discuss this feature before, but I'm usually met with some surprise when I tell others about it so it clearly isn't as well known as I'd hoped. Here, I will discuss a feature of ArtEx which is perfect for researching artifacts. ArtEx First of all, a quick outline of what ArtEx is. ArtEx is a tool that I started work on several years ago. Initially it was just a knowledgeC parser at a time when traditional tools didn't really do much with it. But then I started to add more and more artifacts and features. If you've read any of my blogs, you will have seen screenshots from ArtEx, it kinda looks like this:
I still maintain and develop it as I use it as my main research and validation tool. By the end of this article I hope you will see why. It is developed by me alone in my spare time and is available for free from the Software section of my website. Issues or requests can be emailed to me at hello@doubleblak.com.
ArtExtraction This article will focus on ArtExtraction, which is a feature which allows 2 things:
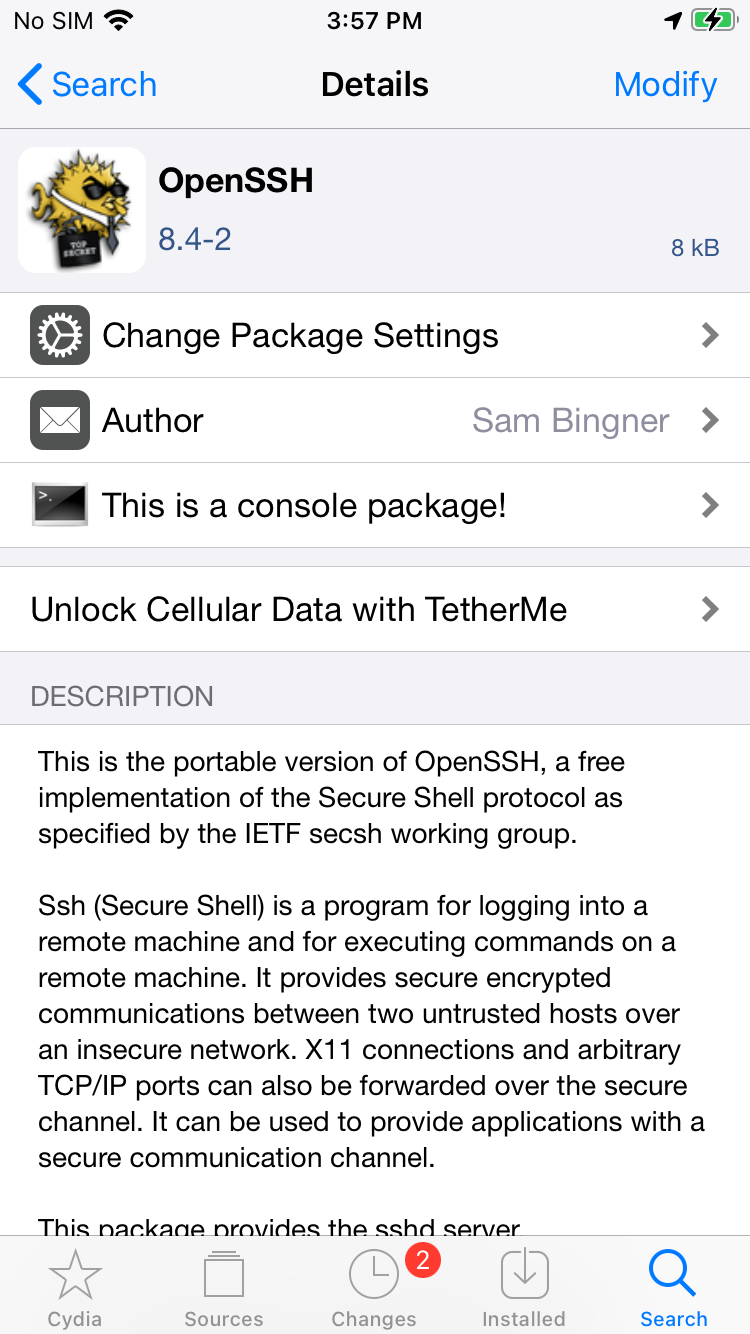
***Note that the extraction methods are not considered forensic and are designed for research purposes*** First of all, you need a Jailbroken device. Any jailbroken device should work. Along with everyone else, I love checkra.1in (if you have access to a mac or linux machine) or 3u Tools if not. Once you have a jailbroken device, you need to use Cydia to install OpenSSH.
I also recommend installing 3u Tools on your computer too to take advantage of the SSH Tunnel. It's not necessary, but will make communication much faster.
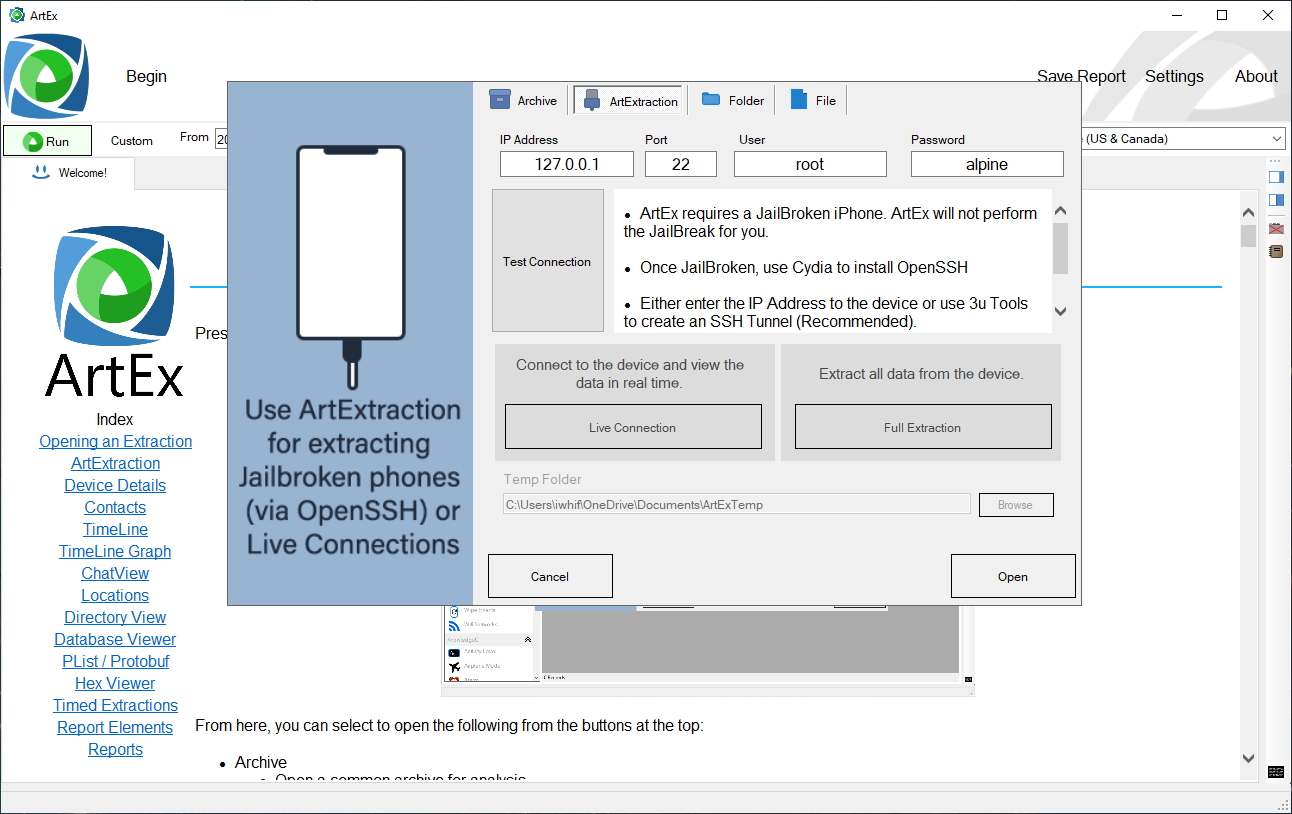
Step 1 - Connecting Whether you want to do a full extraction or live analysis, the connection method is the same. Hit "Begin" and then select "ArtExtraction" from the top menu.
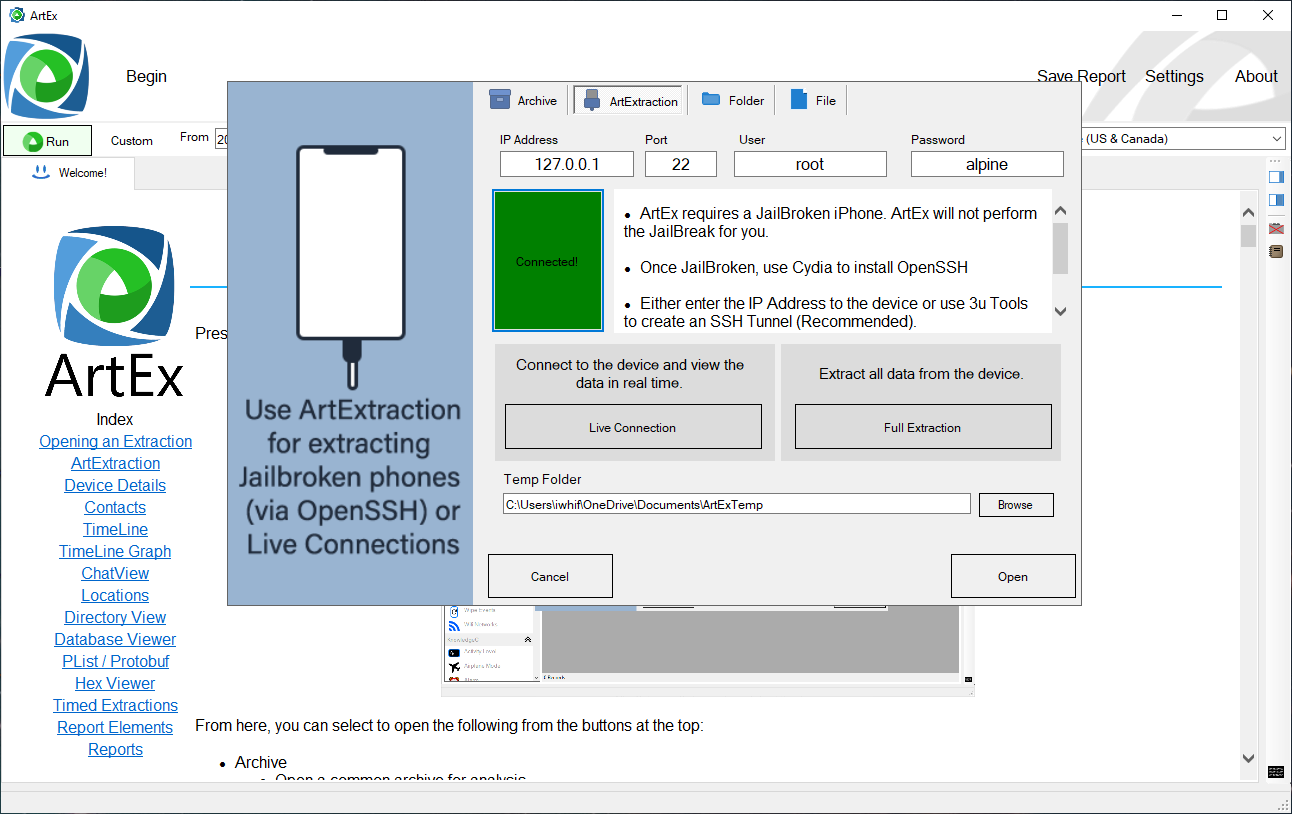
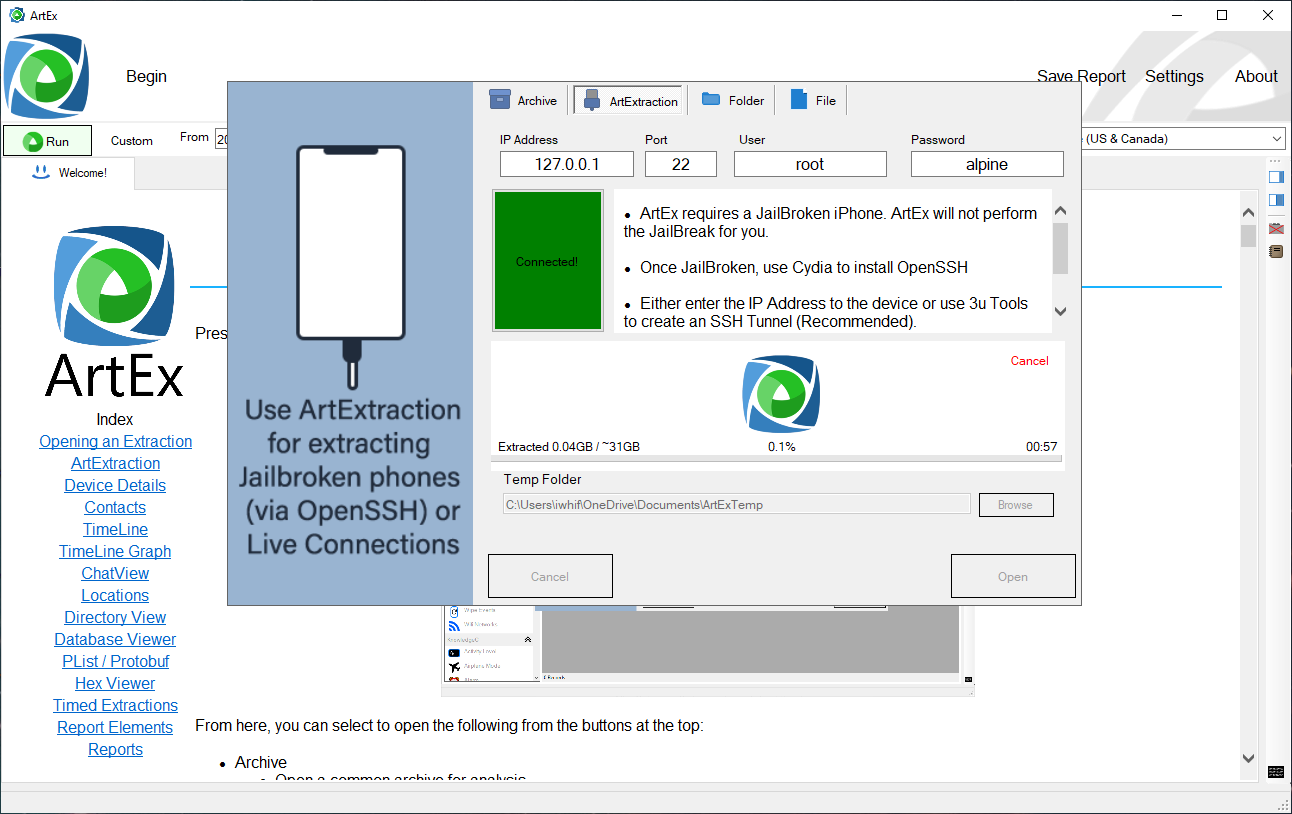
You will see that the IP Address, Port, User and Password are all prepopulated. ArtEx assumes you will be using SSH and populates the default localhost. This will require changing if you aren't using SSH and opt to connect via WiFi. It also assumes the default Port of 22. Again, this may require changing. Lastly, ArtEx assumes the default username/password for iOS but this will require changing if you have altered it. Press the large "Test Connection" button and ArtEx will try to communicate with the device using the settings provided. Assuming the connection is good, the button will turn green and the pane below will activate. If the connection fails, the button will be red. Check your settings and try again. Step 2 (Option 1) - Extraction Assuming you are connected, you will see the screen below:
Select a Temp Folder location and press the "Full Extraction" button. You will be prompted to chose a location to save to (this is different to the Temp Location). You will then see a progress bar and information related to the extraction. It will be saved as a TAR file which can be opened in any of your usual tools.
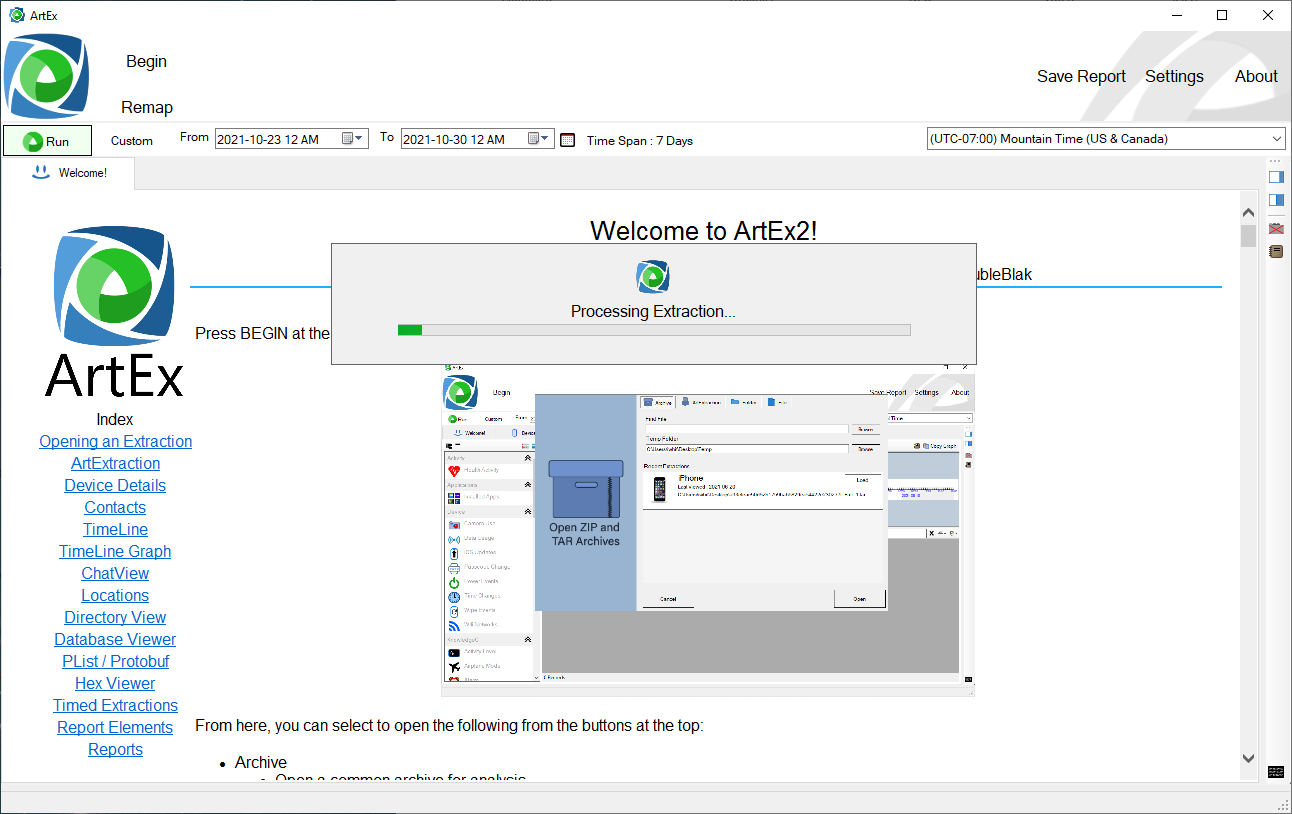
Once the extraction has finished, it will be automatically parsed.
Step 2 (Option B) - Live Connection This is where I feel ArtEx really stands out.. Instead of selecting "Full Extraction", select the "Live Connection" button and ArtEx will parse the device as if it is an extraction.
This means that you can see the device data, parse applications, navigate the directory etc. live on the device, without having to do an extraction. I will clarify I suppose that "Live" is a bit of an exaggeration, but it's pretty close. For example, if I view a database, the file is pulled from device to computer in order to show. If I make changes on the device, they will not reflect in ArtEx until I refresh the file. But more about that later. The benefits of Live Connection should be obvious. If I need to research an artifact, I can connect to my phone live and simply reload the data instead of having to wait for extraction and parsing. What used to take over an hour can now be done in less than a couple of minutes. Let me give you some simple examples.
Example 1 - SMS Database I firstly connect to my device. I can use the timeline to view all SMS messages or head straight to the Directory Browser to find the sms.db file and view it within ArtEx.
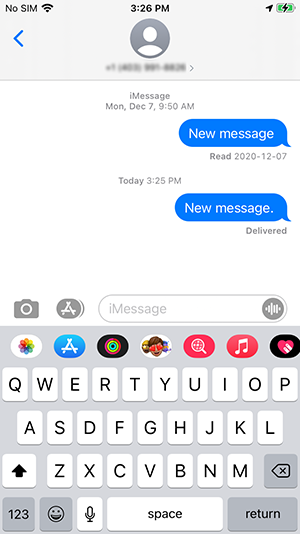
I then use my device to send a couple of messages, including the last message you see here.
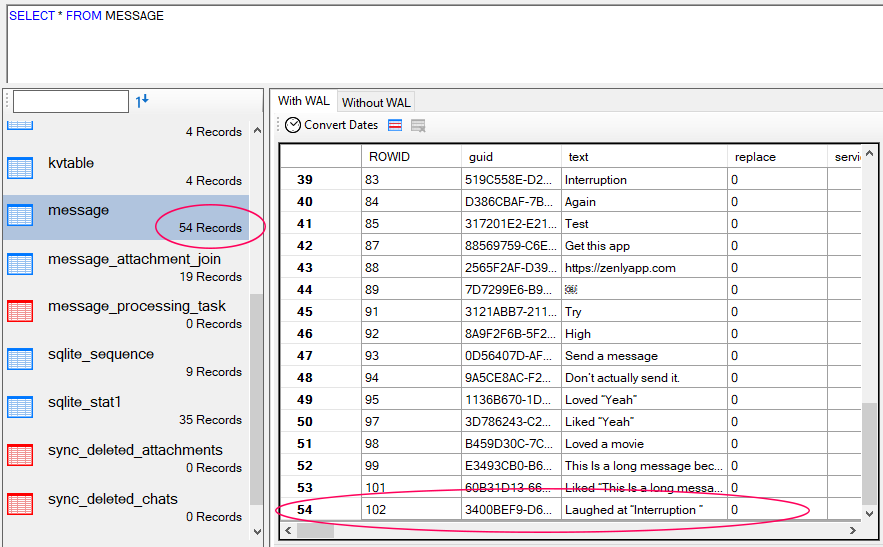
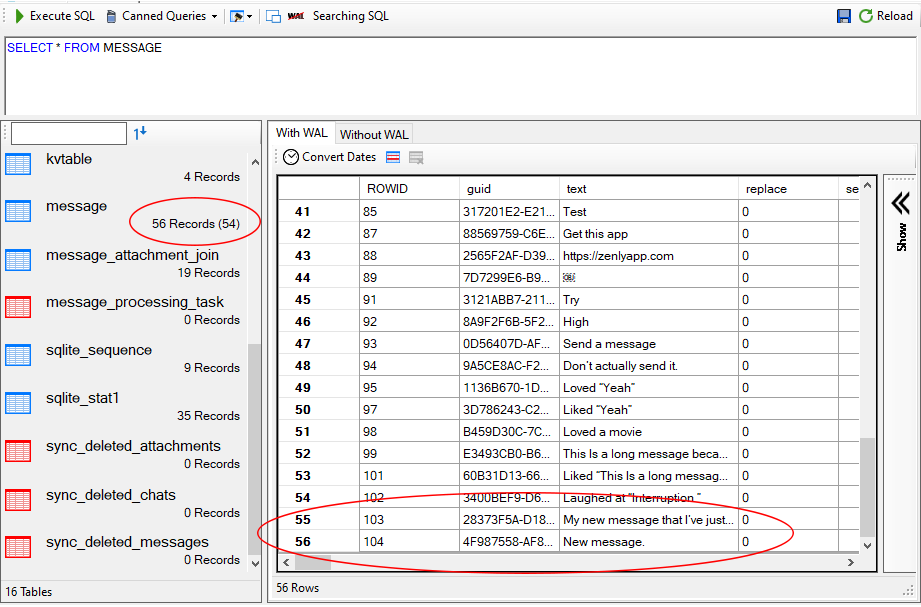
Returning to ArtEx, I can use the little Reload button in the top right corner to request a new copy of the database, which will refresh the table with the same query I was using.
On pressing the Reload button, the most up-tp-date version of the database is pulled from the device and displayed. We can easily see that there are now an extra 2 records. No extraction and virtually no parsing required. It literally took less than 5 minutes to connect to the device, view the initial data, create test messages and view it again. Likewise, I can rerun ArtEx Timeline and the new message will appear. This is a very simple example how you can quickly see the data in the SMS database, but the same can be said for any application and any file.
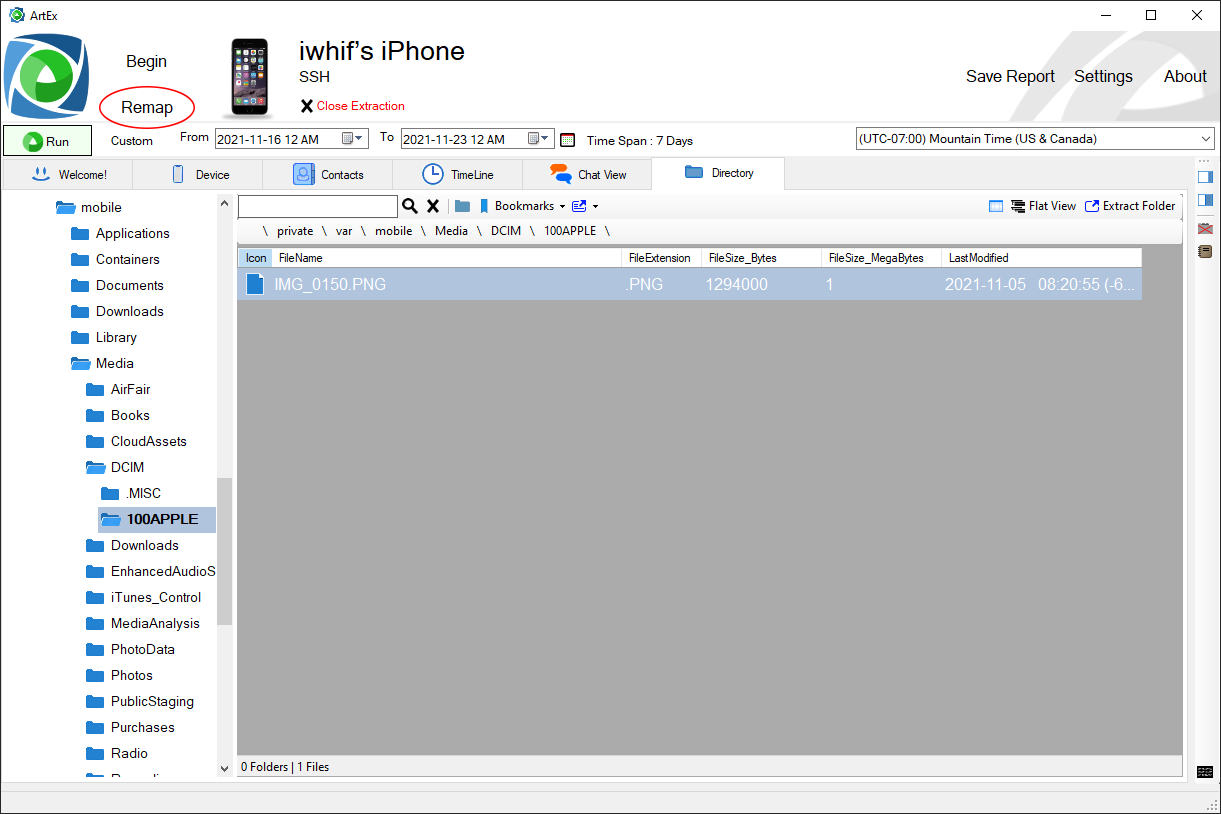
Example 2 - New Files This is a little different and needs explanation. When ArtEx first connects to the device, the first thing it does is to map out the files and directories. This is stored in memory and not usually updated. This means that if any new files are created on the device (such as cached filed downloaded from the web or photographs taken on the device etc.) then they will not show up because they didn't exist when the device first connected and was mapped. In these cases, you can use the "Remap" button to request an updated directory structure.
Note that you ONLY need to use the Remap button if new files are created or you are interested in the updated values metadata of a file such as the timestamp or file size. Normal updates to databases, plists etc. do not require remapping.
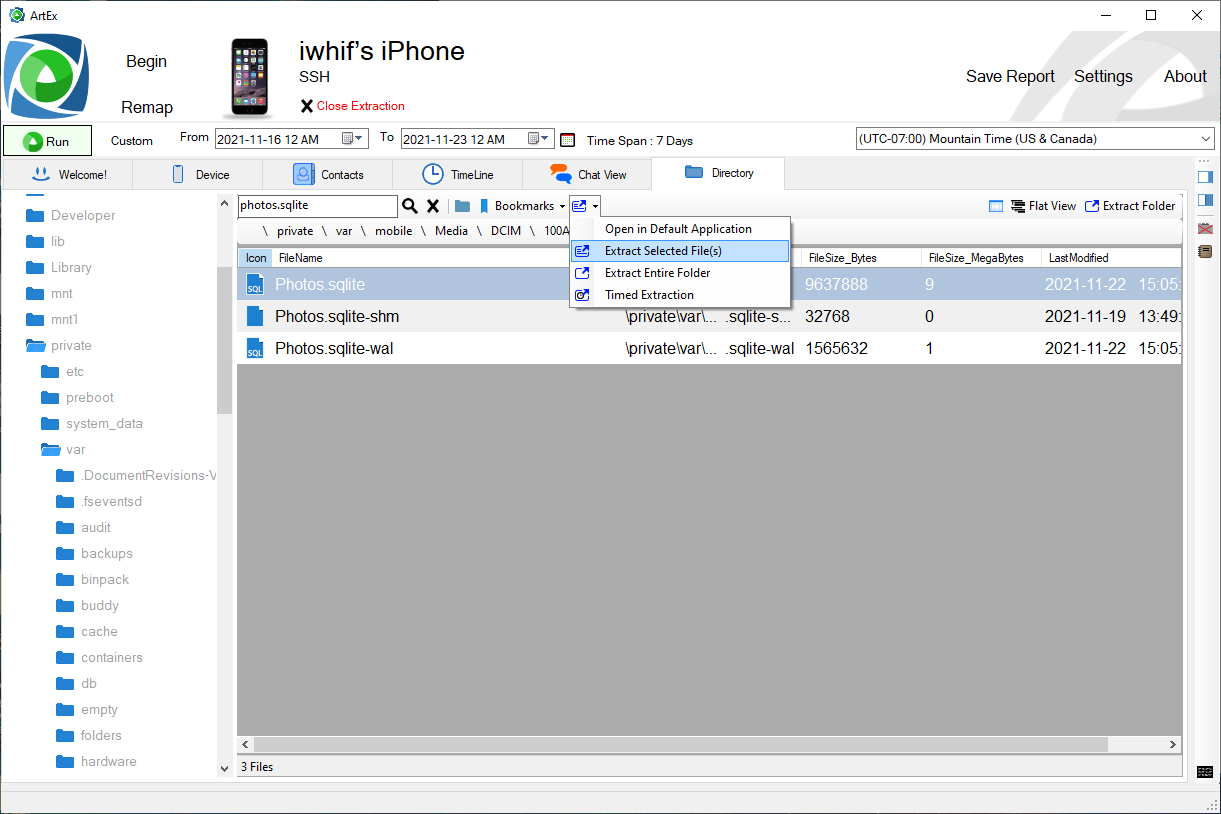
Additional Features From within the Directory Viewer, you have the option to extract files or folders and save them to your desktop. This is especially useful as ArtEx can parse single files or collections of files to save you accessing the full extraction each time.
There is also an option to extract files on a timer. So ArtEx will automatically extract the selected files every few minutes while you use the device (I use this for taking my laptop/phone for a drive and then without any interaction from me, the files I want to look into are automatically saved). Wrapping Up This has been a very whirlwind tour of ArtExtraction. I feel it's a fantastic feature that I'm very proud of and it can help you no end to understand the artifacts you are investigating. It requires virtually no time or special knowledge to set up and allows you to inspect many different file types right within the app (SQLite, Plist, Protobuf etc to name a few). Give it a try. I'd love to hear your thoughts. |
|||||||||||||||||||||||||
|
|||||||||||||||||||||||||
| Search |
| Social |
| Tweets by BlakDouble |
